
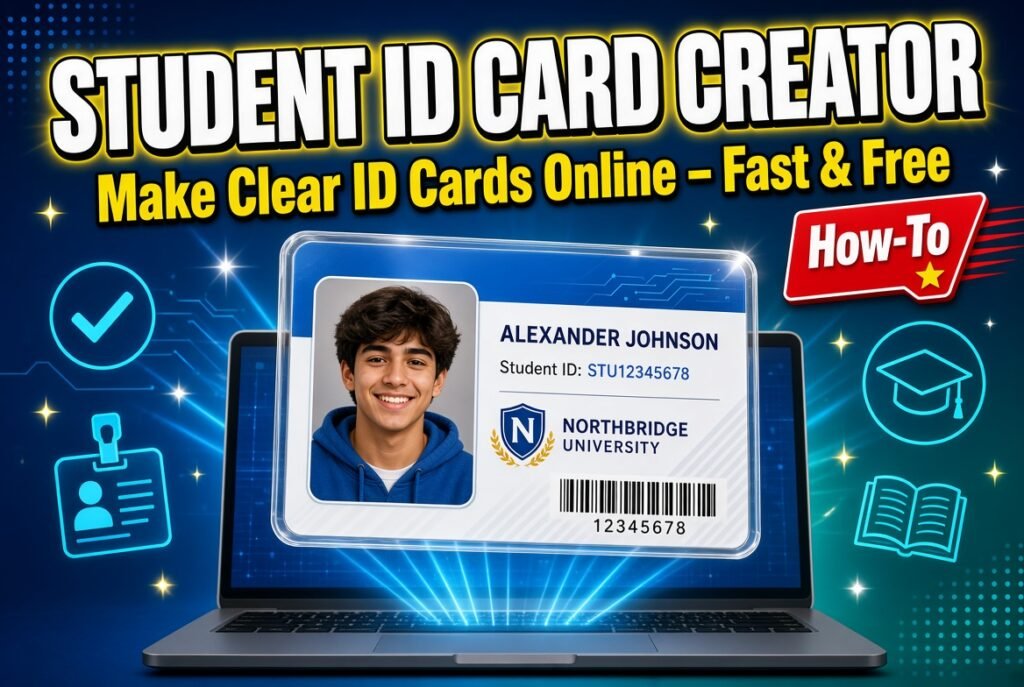
What Is the Student ID Card Creator?
A student ID card is a small document that tells people who you are and which school you belong to. It usually carries your name, photo, department, registration or matric number and the name of your institution. The Student ID Card Creator on Studies.ng helps you put this information into a clean, readable card design so you do not have to build one from scratch in a graphic design app.
This is useful when you need a neat identification card for a school club, a class project, a departmental event, a mock exam centre, a school programme or a personal record. It is also useful for teachers and organisers who want a consistent look across a group of cards.
One point needs to be clear from the start. A card made with an online tool is a design. It is not an identity document issued or approved by your school. Your institution’s official ID card is produced by its own administration, usually after registration, and carries security features that no online tool can replicate. The sections below explain where a creator tool fits and where it does not.
What Can You Use a Student ID Card Creator For?
People use a tool like this in more situations than you might expect. Some realistic ones:
School and club activities. A literary and debating society, a press club or a departmental association may want members to wear identification at meetings and events.
Class and group projects. Drama, entrepreneurship and community projects often use ID cards for roles such as organiser, volunteer or presenter.
Mock examinations and tutorials. A tutorial centre running a mock WAEC, NECO or UTME session can give candidates cards that carry their name and candidate number.
Programme and event badges. Orientation weeks, seminars, hackathons and inter-house sports events often need simple identification.
Personal records. Some students like having a clean digital copy of their details in one place.
Teaching aids. A teacher running a classroom simulation, such as a mock parliament or a model United Nations session, can issue cards to each participant.
Replacing a damaged card temporarily. If your official card is lost, a design with your details can help you keep information handy while you wait for a replacement. It will not be accepted where an official card is required.
Who Should Use It?
The tool suits several kinds of users.
Secondary school students can use it for school clubs, press and prefect teams or class activities.
University, polytechnic and college of education students can use it for departmental events, student associations, group projects and campus programmes that are not run by the school administration.
Teachers and lecturers can prepare cards for classroom activities, workshops, practical sessions or student teams.
Event organisers and student leaders can create a uniform set of cards for volunteers, delegates or members.
Graduates and trainees may find it handy for internship programmes, training sessions and community service groups where a simple identification card is useful.
If you need a card that gives you access to an exam hall, a hostel, a library or a school gate, that has to come from your institution. A self-made design will not replace it.
How to Use the Student ID Card Creator
The exact fields and options depend on what the tool displays on the page, so read the labels you see on the screen. The general process looks like this:
Gather your details first. Have your full name, institution name, department or class, registration or matric number and any other detail you plan to show. Copy them from your admission letter, school portal or official ID so they are accurate.
Prepare a suitable photo. Choose a clear, recent passport-style picture with good lighting and a plain background. A photo where your face is easy to see works best on a small card.
Open the tool. Go to the Student ID Card Creator page at https://studies.ng/student-id-card-creator/.
Fill in the fields provided. Enter your information in each field the tool shows. Type carefully, because small errors in a name or number are easy to miss once the card is designed.
Add your photo if the tool allows it. Use the upload or photo option shown on the page. Check that the image is not stretched or cut off.
Review the card before you finish. Read every line slowly. Check spelling, numbers, dates and the institution name.
Save or export the result using the option the tool provides. Keep a copy on your phone or computer, and print it if you need a physical card.
If a field is optional and you do not need it, leave it out. A card with fewer, well-placed details is easier to read than one packed with information.
Understanding the Result
When you finish, you should have a card design that displays your details in a neat layout. A few things are worth understanding about what you get.
It is a visual design. The card shows the information you typed. The tool does not check whether your matric number, department or school name is correct, and it cannot confirm that you are enrolled.
Print quality depends on your input. A low-resolution photo will look blurry when printed, however good the layout is. A sharp photo and a clean export give a better printed card.
Size and format depend on the tool’s output. Look at the file you receive. Check the file type and how it looks on screen. If you plan to print, do a test print on ordinary paper first to see whether the text is readable at the actual card size.
Colours may look different when printed. Screens and printers show colour differently. A dark blue on screen may look duller on paper, so do a test print before printing many copies.
Practical Examples
Example 1: A debating society in a university. The society’s PRO collects names, departments and membership numbers from twenty members. Each person’s card is made with the same school name and the same style of photo, so the whole set looks consistent at the inter-faculty debate.
Example 2: A mock UTME centre. A tutorial centre wants candidates to carry a card with their name and candidate number during a weekend mock exam. The organiser designs each card, prints them on card paper and checks every number against the registration list before the day.
Example 3: A secondary school press club. A teacher prepares cards for the school press team so that members can be recognised when they cover interhouse sports. The cards carry the student’s name, class and role, such as reporter or photographer.
Example 4: A SIWES-style group visit. A department organises an industrial visit. Student leaders prepare simple cards so that the host company can easily see who belongs to the group.
Example 5: A lost card. A student misplaces an official ID card two weeks before examinations. While waiting for the school to issue a replacement, the student keeps a clean design of their details for personal reference. They do not present it as an official card at any gate or exam hall.
Important Features and Benefits
Without exaggerating what an online tool can do, these are the real advantages of using one:
Speed. You do not need design skills or software to produce a tidy card.
Consistency. Using the same tool for every member of a group gives a uniform appearance.
Accessibility. You can use it with a phone or computer and an internet connection, without installing a heavy design application.
Cost saving. For informal events and activities, it can reduce the need to pay for design work.
Easy corrections. If you notice a mistake, you can fix the details and produce the card again instead of starting over.
What Information Should Appear on a Student ID Card?
Because this is the question most people actually search for, it deserves its own section. A good card shows enough to identify the holder and nothing more.
Commonly useful details:
Full name, written as it appears on your official records
Passport-style photograph
Name of the institution, club or programme
Department, faculty or class
Matric number, registration number or membership number
Session or academic year, for example 2025/2026
Role or status where relevant, such as member, volunteer or candidate
Details to think twice about:
Home address
Personal phone number
Date of birth
Any government identification number
Only include sensitive details if the card genuinely needs them. A card can be lost, photographed or shared, and the less personal information it carries, the lower the risk.
Common Problems and How to Fix Them
The photo looks stretched or cropped. Use a photo with a similar width and height to a passport photograph. Crop it on your phone first so that your face is centred.
The text is too long for the space. Long names, department titles or school names can crowd a card. Use the standard short form of a department name if one exists, and check your institution’s preferred spelling.
The printed card looks blurry. Start with a higher-quality photo and export at the best quality the tool offers. Avoid photos that were forwarded through messaging apps, because they are often compressed.
The colours look different on paper. Do a test print and adjust before printing in bulk.
Details are wrong after printing. Always proofread on screen, and ask a second person to read the card too. Errors in a matric number or a name are the most common mistakes.
The page does not load properly. Check your internet connection, refresh the page and try another browser. Clearing your browser cache can also help.
The card does not look right on a small screen. Try viewing the result on a larger screen, or zoom in to check the details before you save.
Using the Student ID Card Creator on Android and Other Mobile Devices
Most students will use the tool on a phone, so a few habits help.
Use an up-to-date browser such as Chrome or Safari.
Take your photo in good natural light, facing a window, with a plain wall behind you.
Crop the photo before uploading so that it is not oversized.
Rotate your phone to landscape if the page seems cramped.
Save the final file to your phone gallery or downloads folder and back it up, for example by sending it to your email.
If you intend to print, you may need to take the file to a business centre or print it from a computer, since printing directly from some phones can be inconvenient.
Mobile data can be expensive, so load the page while you have a stable connection and avoid uploading very large photo files when a smaller one will do.
Using the Student ID Card Creator on a Computer
A laptop or desktop gives you more comfort for careful work.
A bigger screen makes it easier to spot spelling errors and misaligned photos.
You can edit your photo beforehand with a simple image editor and then upload the finished version.
Printing is easier, especially if you are producing cards for a whole group.
You can organise saved cards in folders by class, club or event.
If you are preparing many cards, work from a spreadsheet of names and numbers so that you can copy information accurately rather than retyping it from memory.
Privacy, Security and Responsible Use
Identity information deserves care, so keep these points in mind.
Share only what is needed. Avoid adding details that a card does not need.
Be careful with other people’s information. If you are making cards for a group, get permission from each person, and keep the list of names and numbers private.
Do not pretend a design is official. Presenting a self-made card as an institution-issued document can create trouble, and it may breach your school’s rules.
Do not copy a school’s logo or seal without permission. Official crests and emblems belong to the institution. If you are making a card for an authorised school activity, use them only with approval.
Never use a card design to impersonate someone or to gain access you are not entitled to. That is misuse, and it can have serious consequences.
Protect your saved files. Do not leave cards with personal information in shared folders or public chat groups.
Studies.ng does not promise how any specific data is stored or protected beyond what the tool page states, so avoid entering anything that you would not be comfortable sharing online.
Important Things to Know Before Using the Student ID Card Creator
It does not replace the official ID card from your institution.
It does not verify your details, your admission or your enrolment.
It will not give you access to exam halls, hostels, libraries or other places that need an officially issued card.
Institutions differ in what they show on their cards, so do not assume that your card layout matches what your school uses.
Your accuracy matters. The tool displays what you type.
Check with your school or organisation before using a self-made card for anything that might need approval.
Student ID Card Creator or Official School ID: Which Do You Need?
The simplest way to decide is to ask what the card is for.
Situation Self-made design suitable?
Club or society meeting Yes
Class project or simulation Yes
Mock exam at a tutorial centre Yes, if the organiser allows it
Event or seminar badge Yes
Personal reference copy Yes
Entering an official exam hall No, use the official card or the document your exam body requires
Hostel, library or campus gate access No, use the official card from the school
Student discounts that need verification Usually no, the provider will ask for an official card
Bank, government or legal identification No
If you are unsure, ask the person or office that will check the card. They will tell you what they accept.
Tips for Getting a Better-Looking Card
Use a photo taken against a plain, light background.
Wear clothing that contrasts with the background.
Keep names in standard capitalisation.
Stick to the details that matter.
Keep your design simple so that it stays readable when printed small.
Print on thick paper or card, and consider lamination if the card will be handled often.
Save a copy of the final file so you can reprint without starting over.
Once your card is ready, you might also be preparing other documents, such as a CV for internship applications or PDF files for submission. Studies.ng has separate tools for those tasks, and you can use them when the need arises.